Showing posts with label Vinegar. Show all posts

Thursday, September 15, 2011

Queso Blanco....


We recently had a large number of Young Single Adults at our home.  Why?......because we have a new chapter of our lives that has just begun.  Rooster Senior has been called into the Bishopric of a Young Single Adult Ward.....and our Sunday's and some weekday evenings sure look a lot different than they used to.

What does this have to do with Queso Blanco?  Well, read on.  I recently attended a Cheese making class taught by Raylene from Mama Rae's Cheesemaking Supply.  As I sat in this class, I could see the possibilities of this unique cheese and decided to try this application that I will show you below.  First, let's see what you need to have.


I decided to make Cheese logs for this gathering of Young Single Adults.  In the class, Raylene had many different types of flavored vinegars and Spices she purchased from a Latino Food Store. She said the spices that you purchase in these establishments are a lot fresher and less expensive.  I'm all for that.  So, I purchased a couple from her list, along with Malt Vinegar.  I already had Balsamic and White Vinegar.  You will also need Kosher Salt flakes.  (These are so much less expensive than the Cheese Salts that you see advertised.  It is not iodized, which is needed for cheese making according to Raylene).


Simple things are needed for this.  Following Raylene's lead, I used my Hot Water Bath Canner (with the rack at the bottom) and my largest Stock pot.  This makes a large double boiler.  One thing I would do differently, I would heat the water a lot initially, then put in the stock pot in preparation for the milk. This would significantly cut down on the time needed to make heat up the milk.


Pour your milk into your double boiler.  I used 2 gallons of Whole milk.  You cannot use UltraPasturized Milk...FYI.  Read your labels.  (For those of you thinking about your powdered milk, wait until the end of the post).


You will need an actual Dairy Thermometer as the increments are smaller.  A traditional candy thermometer is not as accurate.  Mama Rae's sells this for $7.00.  Heat the milk to 190 degrees Fahrenheit. 


Once you reach 190 degrees, reduce your heat to keep the milk at that temperature.  Now, this next part is not an exact science......which I really appreciate!  Scoop out several cups of hot milk into a bowl.  I started with 5 cups, but quickly increased it to much more on the second and third tries....and you will see why in a minute.


I decided to use a Malt Vinegar....which is readily found at grocery stores.  Now, remember the "not an exact science" part?  Well...do this slowly.  Pour in a little bit of vinegar and stir.  Do this in small increments until you see curds form and separate from the whey.


This is what it looks like when they separate.


According to Raylene, you need a sturdy cloth for hard cheeses, and she used one for this cheese.  Notice that I only put a corner of the cloth in my colander.  Pour the contents of the bowl into your cheesecloth-lined strainer. You can capture the whey and use it for other purposes by placing a bowl underneath your colander.


Remember the "use a corner of the cloth" comment?  Well, here is why.  Use another corner of the cloth to help you twist the cheese in the cloth to drain the whey.  It is a bit warm, and the corner makes the heat manageable to touch as you twist the ball.


On this step, again....do it slowly and use a little bit of salt at a time.  Sprinkle some on your cheese, then knead it. Taste it to see if it has the amount of salt you prefer.  If not, sprinkle in some more.  You can always add salt, but you cannot take it away in this process.


Here is the cheese made from 5 cups of milk.....not a grand enough amount for a cheese log. So, feeling a bit more confident, I used more milk on the subsequent attempts at this same process.  If you choose to use herbs to flavor your cheese, put them in as your milk warms up.  If you choose to use spices, put them in a little at a time before you add white vinegar to curdle the milk. 
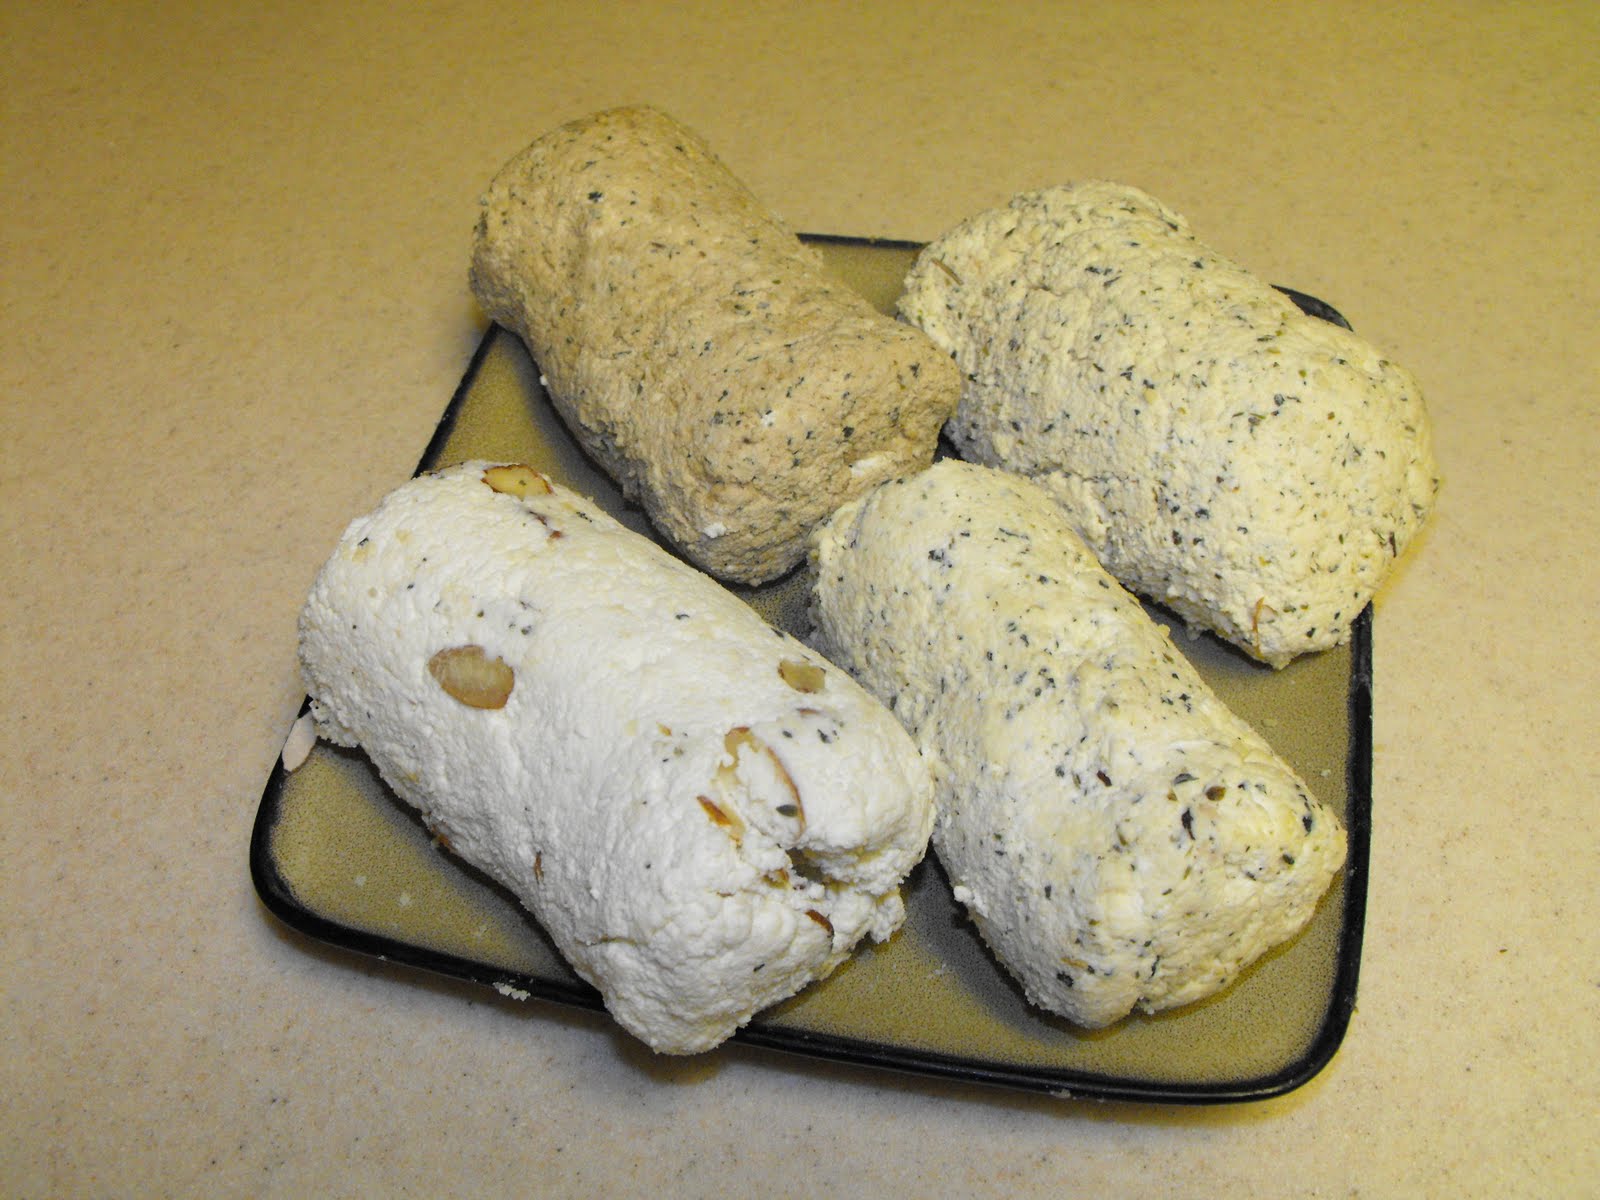


When I formed the first cheese log and tried some, it had more texture to it than I was used to.  So, I added a half package of cream cheese to each log.  Two gallons of milk made 4 logs.  Each was a different flavor.  Here there is Malt flavored cheese (my personal favorite), Balsamic flavored cheese (darker color), Italian spice flavored cheese, and finally Italian spice and Red wine vinegar flavor (I got creative).  I found that I had to put these in the refrigerator to set for at least 30 minutes.


Next, I took a plate and covered it with plastic wrap.  I then sprinkled some sliced Almonds on the plastic wrap.


I then rolled the cheese log into the almonds and pressed the nuts into the cheese.  I wrapped the log tightly.


Here are the final products.  I left them in the refrigerator over night.


I placed them on trays with a variety of crackers. 

What was the result?

  • The Malt and Italian with red wine vinegar went first.
  • The Balsamic was not preferred initially, however the guys took all the leftovers home with them....including crackers!
Now for the powdered milk comment.  Raylene stated that you could use Powdered milk....but it cannot be Ultra-Pasteurized or Aspic.  If you used Non-fat milk, you would need to add cream to increase the fat content.  I have shelf stable Cream that I may try if and when I do this again.

So, try it!  It is really quite easy.  You may find yourself saying the same thing I did...."Is that all there is to it?"

Addendum (9/17/11): I had a cheese log left in the refrigerator....that I neglected to put out.  It stayed in the refrigerator for a couple of days.  My husband said that it really tasted great!  I tried it as well......and the flavors were really good.  They were fine the night of our event.....but having them sit a couple of days really enhanced the taste.  FYI.

Saturday, May 1, 2010

Vinegar recipes

(Image courtesy of www.bigoven.com)


There are many different types of Vinegar.  Let's mention a few:

  • White Distilled Vinegar
  • Balsamic Vinegar
  • Cider Vinegar
  • Red Wine Vinegar
Vinegar is one of those items that is very versatile and definitely a staple we all need to have. However, some have said they really don't know what to do with it but make Salad Dressing in the bottle. Well....get ready to be very surprised. The LRH has been scouting and has found several sites that can give you lots of great ideas.

 So, make a plan to try something new today!

Friday, April 30, 2010

It's a matter of Flavored Vinegars...


(Image Courtesy of Southernliving.com)

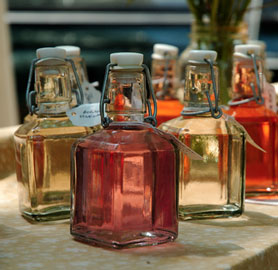
Aren't they beautiful?  I have received beautiful vinegars like these as gifts.  But, I was too hesitant to use them because they were so beautiful.  However, I have learned that they are very simple to make, and you don't have to have a gorgeous bottle to put them in....althought that would be  nice.

I decided to make a Citrus Vinegar,  Here is the process:

Bring 1 Quart of White Vinegar to a boil.


The recipe calls for you to slice the citrus (a lemon, or orange, into 6 slices, or 2 limes cut into quarters). Well, I have citrus fruit that I dehydrated.  I usually float them in water at a meal time to add flavor to the water.  So, I tried to experiment.


The directions state to "thread lengthwise onto bamboo skewer and insert into a 1-quart bottle".  I threaded these lime slices on a skewer.  However, later when I added the vinegar...they all floated to the top!


The recipe then suggests that you add a little food coloring.  I like the orange, but when I added green to the limes, I should have only put in one drop because I do not like the color.  I capped the bottles and stood them in a cool dark place.  The recipe states that you need to allow 10 days to infuse before using.  (Addendum, a day later, the Orange slices began to float throughout the bottle).

The recipe comes from the University of California Cooperative Extension (UCCE).  El Darado County Office 311 Fair Lane Placerville, CA.  The Author's suggest that you could use this when preparing seafood, cucumber slices, greens or homemade mayonnaise.  It makes 1 quart.

There are also Herb Vinegars that you can make.  Here is a basic recipe:

Basic Herb Vinegar (UCCE)

Use fresh herbs whenever possible, but you can use dried herbs.  If you do, it is nice to put a sprig or pieces of the fresh herbs in the bottles after it has infused.  To do this. strain out the dried herbs before bottling and then add the fresh ones in the bottle or container.  This makes a very attractive presentation.  Makes about 1 quart.

1 Quart Vinegar of your choice
1 cup fresh Herbs or 1/2 Cup Dried Herbs.

Bring to a simmer, Let cool, combine ingredients in your glass or plastic jars or containers.  Cap and seal.  Let stand in warm area for about 10 days to infuse. 

Now you can do that!

Sunday, April 25, 2010

My Sunday Dinner...

I mentioned previously that I have had the most incredibly busy week this past week.  As such, not a lot of planning went into Sunday Dinner.  So, this morning....I had to come up with a plan.  Here is what I chose, and it features one of our target foods this week....Vinegar!

I pulled out all the supplies.  Since I didn't start this last night, I used the attachment that goes with my Food Saver to Marinade.  This is not a necessary step, I just wanted to have the meat ready when we came home from Church.  Believe me, I have made this plenty of times using a Zip-lock bag, a glass dish with Plastic Wrap....etc.


I am making a marinade, so I put all the ingredients directly in the container.  I began with Soy Sauce.


The recipe calls for Vegetable oil, but I love Olive Oil and choose to use it instead.


Then I put in the focus item.... Vinegar.  This is Red Wine Vinegar.


Next came the Oregano, Sweet Basil, Garlic Powder and the Pepper.


Stir all the ingredients together.


I had thawed this Turkey in the Microwave while I was making the Marinade.  Place your meat into the Marinade.    Again, you can do this in a bag etc. 


I put the lid on and gave shook it to spread the Marinade over all the surfaces of the Turkey.


With the Food Saver, you can create a vacuum to open the Cells on the meat and draw in the Marinade.  However, if you put all of this in a bag or dish and Marinaded it overnight, it would be just the same.


This is how it hooks up to the Food Saver.


When I came home from Church, it was time to Grill the Turkey.


I wish you could smell the wonderful aroma.  You can use the residual marinade to brush on your meat while you are grilling. 


After about 20-25 minutes the Turkey was ready to eat!


We added a Salad and some fruit and we were ready to go.  This meal took about 30 minutes to prepare and it didn't last long.

Discussion:  Why am I showing you how to make the Marinade?  Because all of these things are considered part of my Food Storage.  I had it all on hand.  I added the fresh vegetables and fruit as I had them in the Refrigerator.  Consider what you could put together if you had staples at your fingertips!

Would you like the recipe?  Here it is:

Chicken Marinade II

1/2 Cup Soy Sauce
1/4 Cup Vegetable Oil (I chose to use Olive Oil)
1/4 Cup Red Wine Vinegar
1 Teaspoon Oregano
1/2 Teaspoon Sweet Basil
1/2 Teaspoon Garlic Powder
1/4 Teaspoon Pepper

Combine all ingredients:  pour over chicken pieces in non-metal dish.  Cover and refrigerate overnight, turn occasionally.  Use marinade to baste chicken while cooking.  Great for Grilling.  (Recipe courtesy of http://www.cooks.com/)


It's Week #4, and the focus items are......

Hi Food Storage Enthusiasts!  I hope you are well on your way to stocking for your Long-Term Storage.  Last week, we had Oats as the focus item.  Can I just say, I couldn't get to all the wonderful things Oats can be used for....time just wasn't on my side.  However, I may stick some of them in as we go along this year.

(Image is coutesy of www.aprtmenttherapy.com)

Yeast is one of our target items this week.  Yeast is a one-celled fungus that converts sugar and starch into carbon dioxide bubbles and alcohol. Bread is made with baker's yeast, which creates lots of bubbles that become trapped in the dough, making the bread rise so it's light and airy when baked. A small amount of alcohol is also produced, but this burns off as the bread bakes. This information and more information on the different types of Yeast comes from http://www.foodsubs.com/LeavenYeast.html.  It is well done and has great pictures!


(Image courtesy of newlywejourney.files.wordpress.com)

Vinegar is the other target item for the week. This is a very, very versatile staple to have not only for cooking, but also cleaning.  Here is are two short segments to introduce you to the cleaning aspects of Vinegar.


01 09 10