Showing posts with label Family. Show all posts

Sunday, October 9, 2016

Memory Quilt continued, Embroidering Names on Photo Quilt Blocks


A few posts ago, I introduced you to a Memory Quilt that I recently made for a family member who was celebrating a landmark birthday.  Just as it is important to identify the photos that you take, I felt it was important to machine embroider family names the quilt blocks.  People change over time, and it is helpful to identify who these beloved family members are now.

Those who are familiar with Machine Embroidery, you know that Stabilizer is a required element to embroider anything.  There are many types to choose from, but I find that I am using this type more often with many of my projects :  World Weidner Self-Adhesive Sticky Peel N Stick Tear Away Embroidery Stabilizer Backing 8"x10 Yard Roll.  What I like about this project is that you can readjust your fabric without taking the hoop apart. this is a very important convenience that saves me time and I feel helps me to quickly get my projects ready to start.


You may be wondering why I am being so specific about the type (not the brand) stabilizer.  Well, it is because I tried to use it efficiently when embroidering on my blocks.  Stabilizer can be costly, so being efficient with its use is just smart.  I tried to embroider on the photos before I made the blocks and it was just too difficult for this quilt. I found that it was easier to embroider on the finished blocks. They were easier to position and center using self-adhesive stabilizer.


I started positioning the first block near the top of the hoop. After your embroidery is finished, I folded the bottom of the block upward.


Slide you next block just under the first block.


Your machine most likely came with a grid tool to help you center your project. I used this tool to center and place my next block on the hoop.  Then I used the settings on my machine to show me the size of the name I wanted to embroider. Sometimes I had to adjust the name up or down using the settings on my machine.


Firmly press your blocks on to the self-adhesive stabilizer.  Embroider your names until you have used the full length of your stabilizer contained within your hoop.


After you remove your hoop from you machine, start removing the bottom block from your stabilizer.  


When you have finished removing all the blocks, your stabilizer should look like this.

Soooo, what is the finished project like?  Here it a section of the quilt in all of it's glory!  My family member states that she has shown this to many friends and neighbors. Reportedly they enjoy it as much as my beloved family member does.


Sunday, September 11, 2016

It's a Matter of making Memories


Isn't it cool?  Just like the phrase in the old commercial...."I can't believe I ate the whole thing....",  well I can truly say "I can't believe I made this thing!".

One of my family members had one of those "Landmark" Birthday's recently.  I felt that I needed to make something special and memorable for her.  About 10 years ago, I ventured out and made a memory quilt along with photo's for my In law's 50th Wedding anniversary.  At that time, I had to trust my photo's to a little Mom and Pop shop and they transferred the pictures on to fabric.  Fast Forward a few years and you now can do this yourself at home.  Want to learn more?  Let's do it!

How To Transfer Photo's onto Fabric at Home:


Before you begin, you will need to purchase 100% white cotton fabric, which needs to be pre-washed before you begin this process.  I took over a bathroom in my house to do this.  I set out a towel to protect my counter, got 2 containers that were not dear to me, and set out the supplies:
  • Clothespins
  • 2 Pie tins
  • Cotton squares
  • Latex gloves
  • ....and the solutions.

This is Bubble Jet Set 2000.  I purchased mine from Amazon. 


Soak the fabric squares in the solution.


Set up a place to hang your squares to dry.  I was able to use yarn and rig this clothesline over a bathtub.


Once the squares are dry, press them flat, then press them onto Freezer Paper.  Now, here is a quick trick that I learned.  I used my paper cutter and cut several sheets of Freezer paper to an 8 x 11 inch size.  I found that I could re-use each sheet of Freezer paper over and over.  


Place your Cloth-Freezer Paper into your printer.  I learned that I needed to slightly curl the edge of the Freezer paper (that was going into the printer) slightly upward so that the printer could grab it and feed it through.  

 
If you don't do this, you get the mess on the right!  It bunches up inside of your printer, or gets stuck.  I have to say that I ruined too many pieces of fabric and freezer paper until I figured this out!  


Next, you will need the Bubble Jet Rinse.  FYI, here are the directions on the Bubble Jet set 2000 and they state the following:

"Print on treated Fabric and let sit 30 minutes.  Take a flat pan or bowl with one gallon of cold water (add 4 caps of Bubble Jet Rinse/gallon).  Wash printed fabric by hand for at least 2 minutes.  Allow fabric to drip dry or lay flat on a towel" 


See how colorful the printed fabric is?


After the squares were dry, I ironed them and made my quilting squares.  Didn't they turn out wonderfully?  "I can't believe I did the whole thing!".

Take Home Points:

  • This can be easily done at home.
  • It is very cost effective to do. When I took my photos to the Mom and Pop shop 10 years ago, it cost over $125.00 to do this.  Also, 10 years ago, the printed fabric was only the size of the photo.  With this system, I could re-size the photo and crop it to fit before printing on the fabric.
  • Cut your Freezer Paper to an 8x11 size and reuse the sheets.
  • I learned that cutting your fabric closer to the 8" width allowed you to cut the square to fit inside the quilt square in a way that looks the best.  
  • Sometimes photos that are in landscape are difficult to crop or resize. In that case, I left strips of 'white' above and below the photos after cutting it for my quilting square. It really looked fine in the finished product. 
  • It's just amazing!
  • This project will hopefully bring joy to my family member for many years to come.

Thursday, July 14, 2016

"No Empty Chairs ......"

A Matter of Preparedness

I have been heartsick these past few weeks with all the vitriol, anger, and senseless choices of so many.  I am saddened by the loss of life in so many settings despite the circumstances. We certainly live in very troubled times. When this all began, it reminded me of the turmoil that rocked 1968, particularly around the political party conventions.  At that time, there were differing viewpoints on who was justified in their actions and who was not.  This is also the case today.  Folks....no matter what.....no matter who.....no matter when.....this senselessness is just that--SENSELESS!.  

I will not engage in a diatribe of who is right and who is wrong....that is a wormhole that many will be willing jump into with you.  Instead, I choose to share or remind, (what ever is the case with you and your family), that your family and family members are more precious than anything you own, do or say or in life.  

This seems so very basic, but as you hear reports from various venues, too many do not appear to put their family as their priority and protect them with all the resources that they may have had at their disposal.  We see family's outcries when they learn of the death of a loved one in a heated incident, (with too many who are and were so young). We see individuals claiming to have relationships with folks in the news (either dead or alive) to garner favor, funds, or fame.  As noted above....THIS IS SENSELESS....

In talking with colleagues, customers, and friends there is a sense of sadness, despair, and hopelessness.  "How could we be in this position?" "Who finds these terrible outcomes worth the choice?" These and many other questions fall from the lips of concerned citizens, neighbors, friends, and family members.

Hope deferred maketh the heart sick: but when the desire cometh, it is a tree of life. (Proverbs 13:12)

When I was very young, my parents moved our family to the Midwest, to a State that had recently experienced rioting and unrest.  My childhood friends, concerned for me, told me that they thought we were all going to be hurt.  Some adults's opinions and statements including gloomy outcomes for our family in a spiritual sense.   It scared me initially, but because of the choices of my parents, I felt calm and peace even when new situations did arise that I had never been exposed to before.

 But learn that he who doeth the works of righteousness shall receive his reward, even peace in this world, and eternal life in the world to come. (Doctrine and Covenants 59:23)

There are many categories of 'preparation'.  One category that I feel often is not even given lip service is Spiritual Preparation.  In my view, this is probably the important and needful area to have incorporated even before attempting educational, professional, and other areas.  It is the all-encompassing umbrella for all the Son's and Daughter's of our Heavenly Father, despite the circumstances that we may have been born and raised in.

When my parents made the decision to go, as I indicated before, so may of our neighbors and friends had cautious and discouraging words.  However, my Grandmother looked at our Parents and our family and said "Whatever is best for you is best for us".  We would no longer be within a 2 hour drive, it would be one or more flights for our Grandparents to see us.  No longer would I be in the majority in my community when it came to religious beliefs.  I personally was challenged, and am now grateful for the test.  Instead of following the majority, I had to learn, pray and decide for myself who our Heavenly Father, Jesus Christ, and the Holy Ghost were...and if they were real.

Our Family Spiritually prepared with daily prayer held morning and night.  We met as a family each Monday night to spend time together. These evenings often included religious instruction, but many were just doing fun things together. These were spiritual and emotional building experiences.  Scripture study was encouraged, and attendance in a religious class outside of our Sunday Service was also valued.  Each experience, each morsel, each spiritual prompting were the building blocks for me and my siblings to handle the blessings and hardships of life while we were young and well into our adult years.

Wherefore, ye must press forward with a steadfastness in Christ, having a perfect brightness of hope, and a love of God and of all men. Wherefore, if ye shall press forward, feasting upon the word of Christ, and endure to the end, behold, thus saith the Father: Ye shall have eternal life. (2 Nephi 31:20)

My Parents, siblings and their spouses recently gathered together to celebrate a major life milestone.  We spend several days together.  One evening, during dinner, I looked around at each face sitting at the table. I reflected upon how much I had admired each one.  My Sisters and Parents have chosen to remain faithful in their religious convictions.  All of my Brother-in-laws had bravely made a decision in their young lives to seek Spiritual guidance and change their lives in order to be in the service of Heavenly Father.  In particular, my husband, at the age of 12 was attending different faiths attempting to feed his Spirit.  I find this so impressive for one so young.

Our Family has endured much. There have been job loses, serious health issues, challenges with family members, and more. But it is just as important to list and count our blessings.  For example, one of my siblings recently emerged from an episode with Cancer.  I am so grateful for these good people.  

I share this with you to help you understand the phrase "No Empty Chairs".  My Parents (my Father in particular) would often use this phrase. The phrase means that we are so precious to our Parents, that they desire that as a family, we live our lives in such a way that when this life is over we will live together.  This is a great blessing that is available to all of Heavenly Father's children.


As a momento of our recent family time together, one of my siblings had both the necklace and engraved pocketknives prepared for each of us. It was one of the culminating events of the time we spent together and a reminder to seek for spiritual things and be sensitive to promptings to serve. 

It is now my charge to continue to love and encourage my children and grandchildren to become increasingly prepared in Spirit. My children have experienced life-altering challenges. Most have weathered the storm well...some have hidden battle scars (as do we all) that still are stumbling blocks for them.  It is my wish that they, and all of us, can be hopeful amidst the chaos in life.  It is my hope and prayer that "There are No Empty Chairs" in my family or in any family when we have all finished our earthly missions.

The Lord has given us a reassuring message of hope: “Fear not, little flock.” God will wait with “open arms to receive”those who give away their sins and continue in faith, hope, and charity.

And to all who suffer—to all who feel discouraged, worried, or lonely—I say with love and deep concern for you, never give in.

Never surrender.

Never allow despair to overcome your spirit.

Embrace and rely upon the Hope of Israel, for the love of the Son of God pierces all darkness, softens all sorrow, and gladdens every heart.  

(President Dieter F. Uchtdorf)


"....No Empty Chairs...."


Sunday, April 10, 2016

Its a Matter of Spring Cleaning: Patio Furniture Pads


I truly hope that Spring has FINALLY arrived!  We saw inklings of Spring trying to come through this past week.  I decided to invite the family over for the 1st Cookout of the Season.

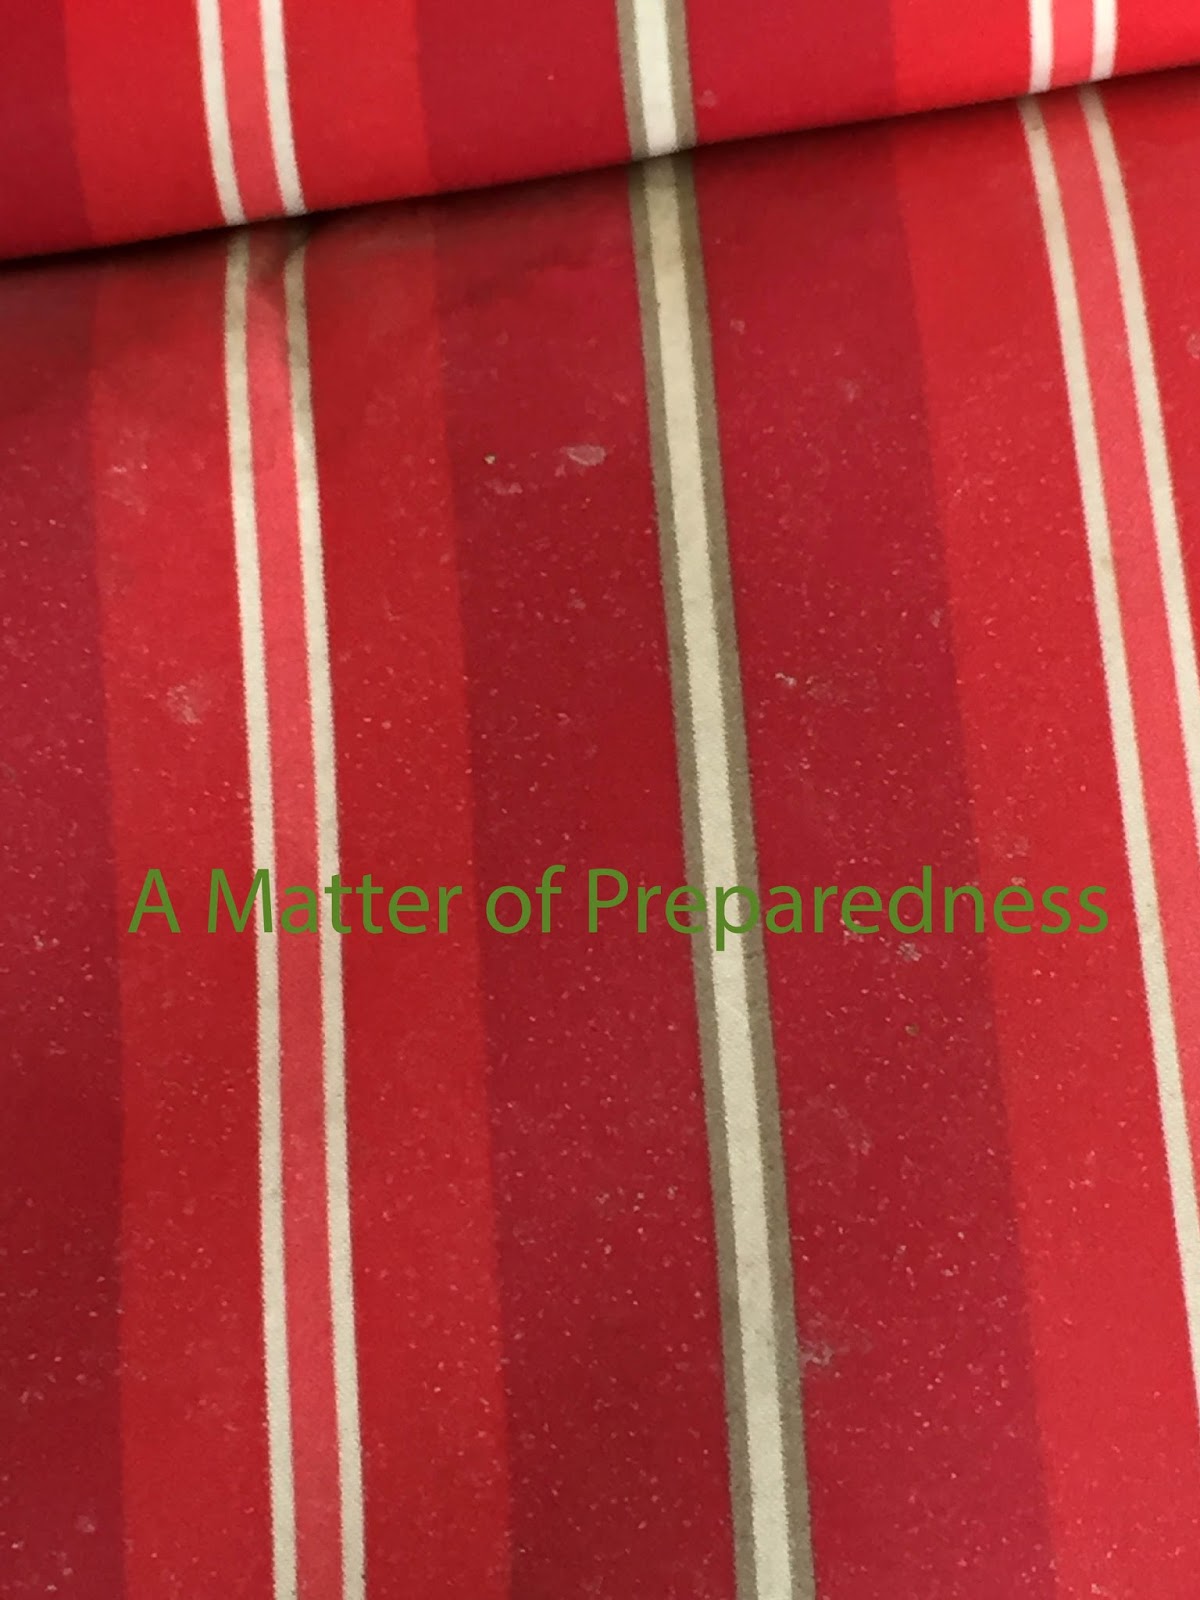
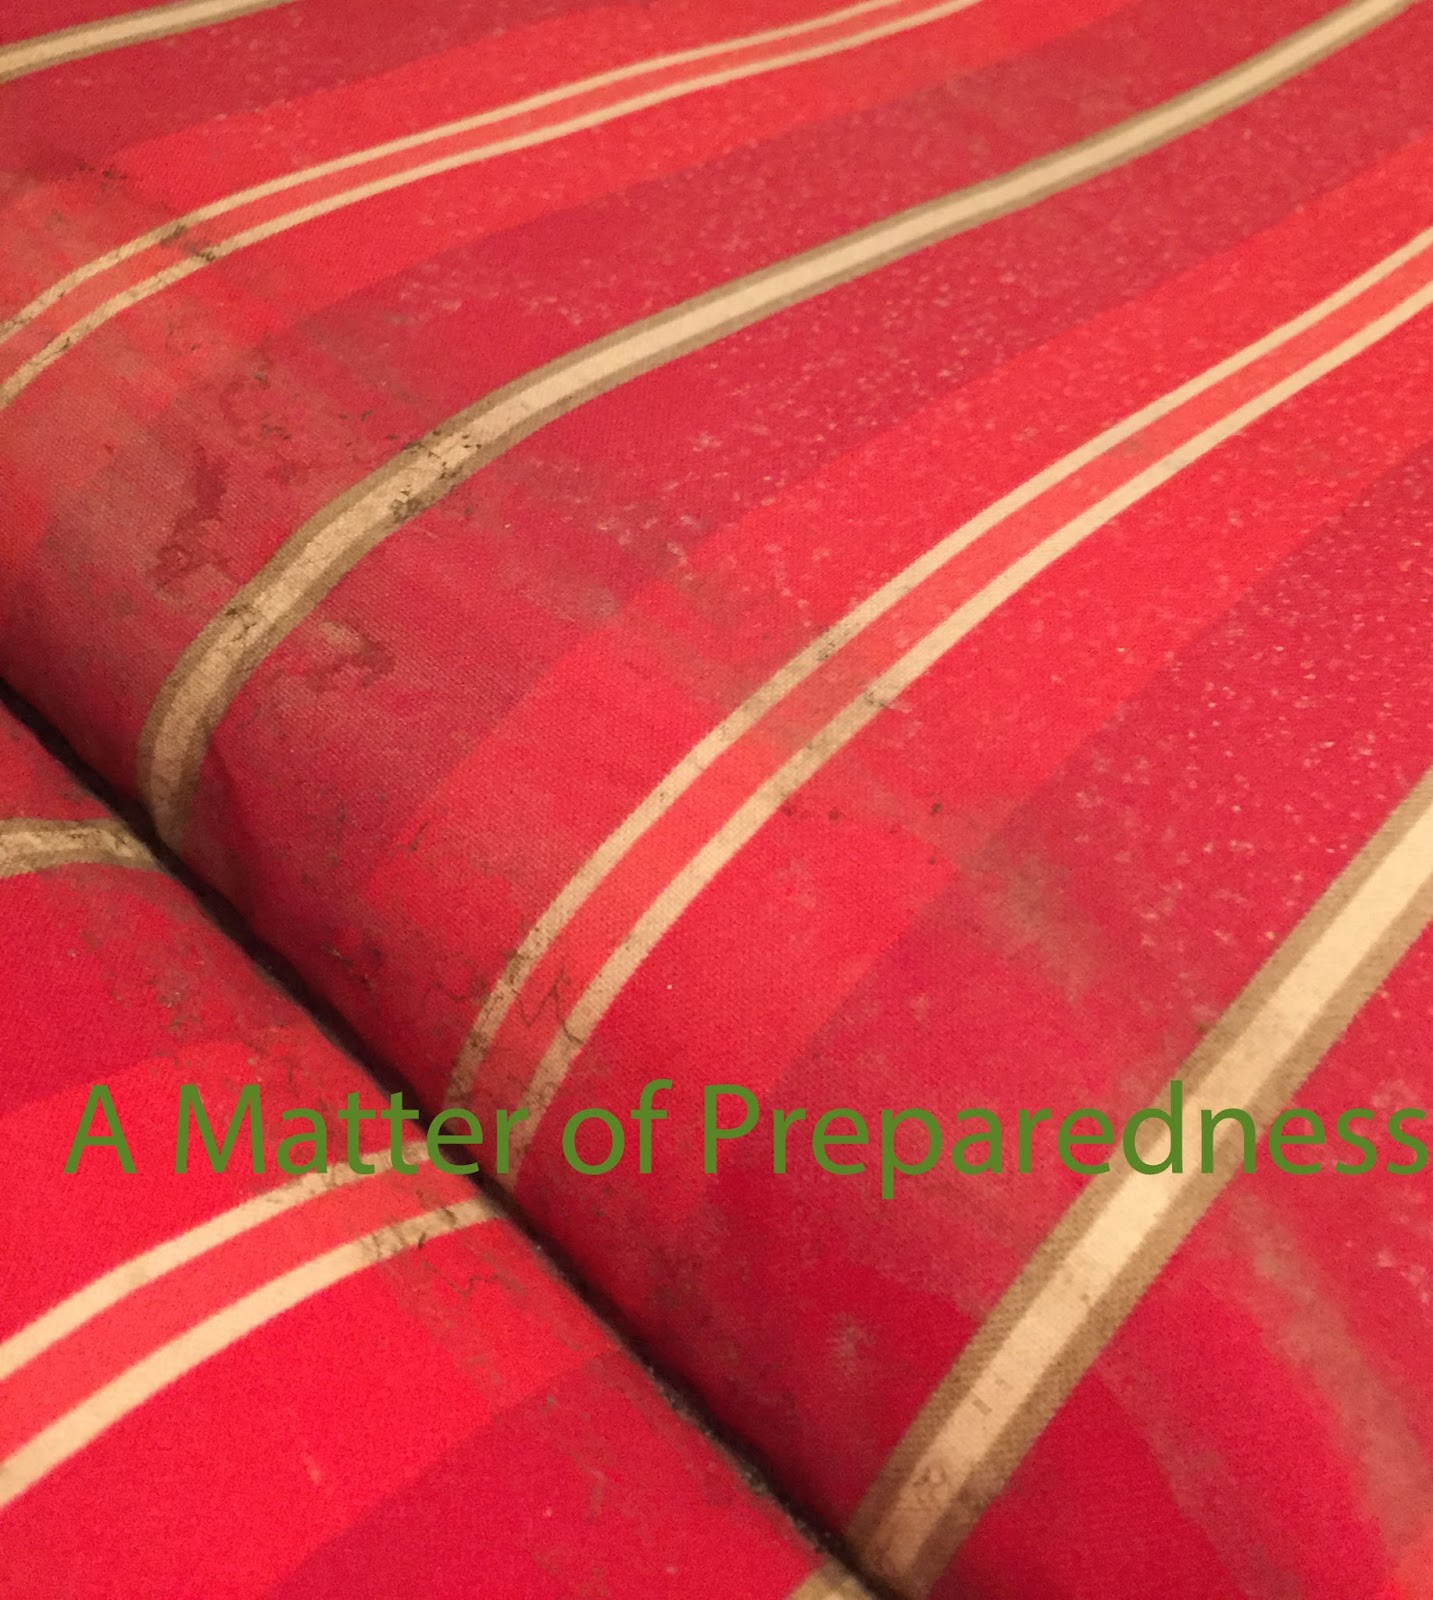
I pulled out all our furniture including the Pads for the seats and swing.  All I can say was "yuck".  The pads had been put away without really looking at the dust, dirt, and yes I will say it.....little "bird droppings' on them.  It was time to clean them up.

How to clean your Patio Seat Pads:


As I inspected the pads, I saw all of the above mentioned nastiness, but as you can see from the above photo, there was also spotting from the rain.  


Have you ever taken a look inside the crease between the top and bottom portions?  It's is not a lovely site!  In the past, I would have attempted to scrub these using a brush and bucket.  I decided to try a new approach this time.


Yes, I really did put them inside of my HE Washing machine.  They actually fit! I learned to turn the patterned side to the outside versus the inside as each pad washed.  I only put in one chair/seat pad in the washer at a time to ensure that I did not over stuff my machine.

After washing, sometimes a corner of the pad could have become 'bunched'.  I snapped the pads hard in the same manner that you would snap a sheet or towel. Sometimes I had to help the work the pad to the corner by taking the corner with my fingers, push it up into the 'bunch' and find the corner. Then pull it out so that the pad and the fabric fit as they did before the washing.  


Look how well the pad looks after a trip in the Washing Machine!  No more nastiness!


As soon as the Wash Cycle was over, I placed the cushions on the chairs to dry.  

Now please know that I found I had to use Lime-a-way to clean the hand rests and also a bucket of soapy water and cloth to clean the top of the table.  


Needless to say, the Cushions smelled clean and fresh. Too often, these cushions smell musty and dusty.  (My table and the armrests looked clean and new).

We grilled burgers and made new memories.  I am looking forward to more opportunities to use our outdoor kitchen and dining room!

Welcome Spring!


Sunday, December 6, 2015

Mary's Treasure Box....a new Christmas Tradition (Updated).


A few years ago, I wrote a post about a wonderful book called "Mary's Treasure Box" which depicts Mary (the Mother of the Savior) sharing memories with her Granddaughter.  After I published the post, the author of this wonderful book wrote the following comment on our Blog:


Carolyn Kramlich said...
"Christmas Greetings in 2013. I was so surprised to see that you too had made a treasure box like I did so many years ago. I'm Carolyn Kramlich, the author of Mary's Treasure Box. My book has been out of print for several years now, but I still find comments about it online. In fact, it is being republished in 2014-2015 by B & H Kids, a Baptist publishing house in Nashville...retooled with new illustrations.
I'm so thankful that you've kept Mary's story alive. My inspiration was a box in my basement where I had collected items from my own son's birth and childhood. I was suddenly struck with the thought that perhaps Mary was a sentimental mother like I am...and perhaps you are too. I'm so glad I saw your blog!  cwk"
Ms. Kramlich reached out to me again this year with the following information:
Carolyn Kramlich said...
"A new version of Mary's Treasure Box has been published by B&H Publishers in Nashville. If you go to my website, I have about 8 links to various book vendors that carry the book for as little as $9.99, but it doesn't look the same. The publishers and I decided to retool, revise, and re-illustrate the book to make it a little more kid friendly. The illustrator, Bruno Merz,worked with Max Lucado on his last children's book project so I'm in good company! I've also changed my pen name to C.E. Walz, which is my maiden name to honor my parents, both now deceased. Website: cewalz.net"

Making your own version of "Mary's Treasure Box":


I wanted to be authentic, so I found real Frankincense and Myrrh in this beautiful set sold at our local Catholic Supply Store.  I also found these online.  Most recently, I see that Deseret Book also has these in their stores. Don't wait until the last minute, I learned that I was lucky to have purchased the last set in my local store. 

  
Some of the items that are needed are boxes/containers for the Frankincense and Myrrh. Initially I found little cardboard boxes at my local craft store.  However, I came across these ring boxes that seemed to fit the story best. They were not very expensive either. The gold bracelet that is called for in this story is actually a hanging earring base that is intended for additional beads etc to be attached to it. (I have, however, cut off a small circle that was on the opposite side of the small circles that is intended for the earing hook to be attached too).  I guess that I felt it looked a little 'regal' with the other small circles still attached..  


I made "Treasure boxes" for each of my married children who have had little ones at home.  I placed Frankincense in one box and Myrrh in another.  I learned that I needed to put a rubber-band  on the round box as the lid easily slid off and the contents would spill.  (I gave my adult children instructions to remove it before the story was read to the grandchildren). 


You will also need a 'flute' (a small toy whistle), and wool.  


I took poly-fill (like you would put in a quilt or a pillow) and rubbed a sharpie marker in certain spots.  I them just rubbed the poly-fill against itself to make the grey wool.  In addition, you will need a piece of linen which I found in my fabric scraps.


The book essentially calls for 2 different bundles.  I put the stated items into squares of maroon and gold fabrics with blue and maroon ribbons (as shown in the original version of the book).  


Place both bundles in a wooden box (which I picked up at the craft store)

So, how did we read this book to our grandchildren in different parts of the country? I made a power-point with the pictures from the book.  I scheduled an on-line meeting (from a free service) so that they could see us.  

As we came to each point in the story where something was being spoken of, the children and their parents took the objects out of their bundles and experienced the story with actual items.  I think we all really liked the real Frankincense and Myrrh!

Since we read this to our Grandchildren on-line, we have purchased copies of this wonderful book for each of our Adult Children so that they can continue this tradition in their own homes.

However, if you wish to do this, start early.  It is worth the effort.   You can order the new version of Mary's Treasure Box here.  Merry Christmas!

Good luck!

Sunday, May 31, 2015

It's a Matter of.....Life and The Plan of Happiness

Courtesy of Mormon Newsroom
Image courtesy of Mormonnewsroom.org
As a Member of the Church of Jesus Christ of Latter-day Saints, I am grateful to have a Living Prophet and Apostles on the earth.  Yesterday, one of our dear Apostles finished his earthly mission.  Here is the official news release:

SALT LAKE CITY —
Elder L. Tom Perry of the Quorum of the Twelve Apostles of The Church of Jesus Christ of Latter-day Saints died today at about 3:00 p.m. at his home. He was 92 years old. 
Elder Perry was ordained an apostle of The Church of Jesus Christ of Latter-day Saints in April 1974, after serving as an assistant to the Twelve since 1972. Elder Perry’s commanding physical presence combined with his enthusiasm and optimistic style made him a forceful as well as a popular figure among Church members across the world.
I realize there is more than these two-paragraph in the news release does that tells more about about this beloved man.  There are many stories with more information about him all over the news.  These stories are easy to find. However, today I wanted to share my encounter with him....when he was newly called and I was quite a bit younger.

Although I currently live along the Wasatch Front, that has not always been the case. During my teenage years, I lived in the Midwest.  At that time, my local ward/congregation was young and small. Everyone on our ward had one or more callings (assignments) including me.  

Once a month, our Stake (larger congregation of several wards) would hold "Super Saturdays" for the youth 14 years and older. These were Saturdays filled with all kinds of things from gospel instruction, sports, meals, and always a dance to cumulate the end of the action-packed day.  On one particular "Super-Saturday", a new face came into our Seminary group. I'll be honest, I had no idea who this was, but the adults were certainly very polite and welcoming to him.

He was introduced as our new Apostle, "Elder L Tom Perry".  We were invited to shake his hand as we left the class and went on to the next 'event'.  I did take the opportunity to shake his hand. He looked at me and was very genuine. He asked me how I was doing and told me that it was a pleasure to meet me.  I remember thinking at the time "a pleasure to meet me?", what on earth for? I was just an awkward teenager trying to push my 'cool quotient' just like everyone else.  

Since that time, Elder Perry has had a soft spot in my heart. I have heard him at General Conference (Semi-annual meeting world wide) and also when I was a student at Brigham Young University.  He has always struck me as being as genuine as he was when I shook his hand those many years ago.

His death is sad, but also an opportunity for him and his family to celebrate.  We believe that there is a life after death and that if you live as the Savior has taught, you can be reunited with those who has passed away.  Elder Perry's first wife and his daughter finished their earthly missions before he did.  I am sure there is a huge homecoming occurring right now with the Perry family.

I also have lost another loved one this week.  He was an uncle who was a genuine as Elder Perry and certainly very fun.  Yesterday at his funeral, my cousins, my sister, and I reminisced about many things.  Events as children, events with our Grandparents and certainly events with my Aunt and Uncle. As I looked at my cousins, whose parents both had passed away at this point, I felt a pain of sadness for them...and for me.  Although we understand that there is a plan and that all the Savior has he is offering to us, it still hurts to lose loved ones.  I will miss having a reason to go to that small western town that is not on the way to anything.  No one who I am related to lives there any longer, it is just a serious of robust memories for me there.

So as we say goodbye to this beloved family member and Apostle, we rejoice in the knowledge that this life is but a short time in the eternal scheme of things.  I am grateful to know that we have a loving Heavenly Father and Savior who have made the way know and possible for us to return to live with them...and to live with our loved ones.  Life is all about choices. May we all choose to learn, live, and love as the Savior has taught.

I want to leave you with one of my favorite talks by Elder Perry.  It's message to me is that no matter what your circumstances are, there is always an opportunity to do as the Savior would.


Sunday, January 4, 2015

Convenience Cooking for a Crowd......From Food Storage Staples


I had a crowd over for dinner around Christmas time.  I have a 3 burner device that can cook or keep 3 shiny pots/kettles going on individual controls. I decided to offer our guests a choice of 3 different soups along with other things.  One of the soups I offered is a crowd favorite....and is very delicious!

(The pots that come with this device are very shiny and made every picture I attempted to take a little challenging!)

How to make Taco Soup from Food Storage Staples

I love Taco Soup.  Pair it with some corn ships and you have a delicious and filling meal.  For this soup, I used only items from my Food Storage, yet the soup was fresh and delicious.

I have Hamburger frozen in 1 pound packages.  I thawed it and broke it up into pieces and then put it in the microwave. Yes, I really did say the microwave.  I timed the microwave for every 30 seconds and stopped to chop and stir. After about a couple of minutes, the Hamburger was cooked and in small pieces.  At this point, you can rinse your hamburger under running water to reduce the fat content, or leave it as is.


I went to my Food Storage room and got a can of canned corn, a few jars of canned black beans (you can use a variety of beans in this recipe), and a can of tomato dices.  


The recipe calls for a package of Ranch Dressing.  No Problem! I have Ranch Dressing Mix on hand that I put together myself.  It is so easy and convenient!


I put in the Ranch dressing mix, along with all the other seasoning as well as the cooked hamburger.  I put the lid on, turned up the burner, and let it simmer until our guests arrived.

Just for your information, I also made Pumpkin Soup, and Chicken Noodle Soup. All of these were made from Food Storage Staples.  Again, it was all so convenient!.  I just turned the burners on and went about my business before my company arrived.


Well, after dinner the gifts were the actual star of the show.  However, I loved being in a position to provide my guests with a nutritious and hearty soups.......all from my food storage staples.

Take home points:

  • Having Food Storage Staples actually is having convenience foods available to you.  
  • I believe this Hearty Taco Soup cost about $2.00 total to feed this crowd.  
  • The cost of the Pumpkin Soup and Chicken soup were nominal as well.  Several folks went back twice for more soup...so it was welcome on a cold winter day.
  • Efforts made in the summer and fall bear fruit during the winter.
  • The peace-of-mind that comes from having food stuffs on hand is priceless.
  • Food Storage Staples are not just for emergencies, it is for everyday living.  In this case, it was for a holiday celebration.
  • Gaining skill sets brings successes in many ways.  It's not just about the food, it is the knowledge and preparation that makes this possible.

Taco Soup:

(I got this recipe from a group called "Organized Christmas" a number of years ago.)

Taco Soup

  • 1 lb hamburger
  • 1 medium onion, chopped
  • 1 clove garlic, minced

Combine these ingredients, cook and drain. Add the following to the pot:
  • 1 can whole kernel corn
  • 1 can pinto beans
  • 1 can red kidney beans
  • 1 Large can diced, stewed tomatoes
  • 1 can Ro-tell tomatoes (if you can't find these, look for tomatoes with diced chillies, or in a pinch a good hot salsa or picante sauce will do).
  • 1 pkg Taco Seasoning Mix (1 Tblsp)
  • 1 pkg Hidden Valley Ranch Dressing (I have actually poured in an amount from a my dressing bottle before)

Bring to a boil, reduce heat and simmer for an hour (or keep the water to a minimum and put it in the crock pot for all day)

Serve over tortilla chips or tamales. Garnish with sour cream, shredded cheeses, and or cubed avocado. 


Try it!

Sunday, December 21, 2014

On The List......


Preparedness Websites:

I am a follower of many blogs and websites. I love to learn from those who share the same interests and concerns that I do. I am also grateful when good folks like you all take a few minutes of your precious time to read our blog. It is my hope that you find something of use, a nugget or two to use in your busy daily lives. Every once-in-a-while, I am touched by the kindness of others.  I have fortunate to be mentioned on various lists as a site to visit.  Just to be included on the same lists as other's who are notable is really a great honor.

I have never been at the top of the lists, but I am really just fine with that. I will continue to look and learn, search and find, and experiment and share in my efforts to help you be as self-sufficient as can be on a daily basis.  I do this not because I am preaching a doomsday philosophy. Rather, it is a 'real-life' philosophy.  My husband's business tends to be cyclical.  We have used our food storage, and DIY skills for years.....and have always been fine.

No one knows when they may need to call upon their preparations either in skills or with food or 'stuff.  One thing is for sure, if the day hasn't come to you yet, it most likely will.  I would encourage you not to put your head in the sand.....invest in yourself and your family.  Live with more peace, live with more confidence, live with the opportunity to share and serve others because you have taken the time and interest to become more self-sufficient.

Now, if you want to see where I landed....it was down on the list...but yet still on the list(s). Thank you to those who considered me and those who took a moment to vote.  While looking on the list, please visit the many experts listed!  You will be amazed and hopefully curious to learn more!


It's the end of another year.  It is the time that many reflect and make goals for the future.  Make a list, make a plan, learn!

Consider it!

Sunday, October 26, 2014

It's a Matter Of ....... A Little Halloween!


I have a few little goblins that will toddle through my house this year....and I love it!  I have always decorated and celebrated every holiday in my home.  I wanted my children to have fun and fond memories of our time together over the years.  

Now, I have another generation that I would 'spread the fun around' with.  So, I have plans for our party this year, and I would like to share some of the fun things that I will have at that family gathering.


Halloween Jack-o-Lantern Jars....from Canning jars and Vinyl Cut-outs.  


Well, if you have been reading my blog for any time at all, you know that I can lots of different things. As such, I have jars...and jars...and jars in my storage room.  I decided to try a little project this year.


I cut out some fun faces using my Silhouette.  I put them on to transfer paper.  I then cut the individual faces apart.


I found a smooth side to my jar and rubbed the design/transfer paper on to the jar.


I initially had the plain jar and put in a flame-less candle.  You know the ones that are sold at Christmas time. They work just great for these, and little hands can be curious and not get burned if they try to touch them.


I decided to put on some raffia for fun!


Aren't they sweet?  I think all the little Goblins will love them when we 'party-hardy"....(well as much as you can with a 3-year old and younger party!).

Take Home Message:

  • I had all the materials to do this project.  I had the Vinyl from another project. The cost for me today was just my time.
  • The Canning Jars are from my storage...again I had these items on hand.
  • I used flame-less candles for safety.  I had used these candles in my Christmas decorating. They are perfect for this little project.

Simple, Easy, Cute, and Fun!  Who can ask for anything more?


01 09 10