Showing posts with label Frugal Living. Show all posts

Sunday, August 30, 2015

An Oldie but Goodie...Making Peach Jelly!

This is an 'encore' presentation of this post.  I hope you find this very popular post helpful!  Give it a try!  The Little Red Hen

It's a matter of ....making Peach Jelly


When I was little, I recall going into our "fruitroom" as I was looking for my mother. I found her in the fruitroom standing and gazing at all the bottled food she had prepared. After I called to her, she said, "aren't they pretty?" (referring to all the jars of food). I thought that was rather funny at the time, but as an adult I have come to understand what she was doing.

I have been on a "Jam" kick this summer, trying and making many different kinds. However, after making Peach Jam (which is really yummy!), I chose to make Peach Jelly. I like this recipe as it uses the skins and pits of the peaches which many of us normally discard. I got this recipe from my mother, who unfortunately cannot recall where she obtained it. I thought I would share the process and the recipe with you.


    Peach Jelly Recipe


  • 5.5 Cups Peach Juice (Peels and pits in a pan, cover with water, cook 30 minutes, strain with cheese cloth. Put i enough water to cover by 3-4")


  • 1 package of Dry Pectin (I found that you need to use new pectin that you purchase the year you make the jelly)


  • 7.5 Cups of Sugar.


  • Instructions: Combine the juice and pectin in a large sauce pan. Bring to a boil, stir in sugar and return to a rolling boil. Boil hard for 3 minutes stirring constantly. Remove from heat, let it sit for a few minutes. Skim the foam. Ladle into hot sterile jars leaving 1/4" head room. Process 10 minutes in a Hot Water Bath.
Here is the process in "photos":


Boil the pits and the skins until the water turns red.


Place a couple of layers of Cheesecloth in your strainer. Make sure the strainer is inside a larger bowl to catch the Peach juice once it is strained through the Cheesecloth.


This is the juice after it has been strained. The juice is now ready to be put into the recipe noted above. (One thing that I learned is that you need to use new Pectin. I made 2 batches. The first batch was made with Pectin I have left over from last year and the other with Pectin I just purchased recently. The first batch partially set up, but the second batch had no issues.)


Pour the jelly mixture into jars, wipe the jar rim, place a sterilized lid on and seal with a jar ring. Notice how clear the jelly is. You can see the peach jam I processed in the background. The jam is the color of peaches, but the jelly has the red hue to it that was achieved while boiling. Process the jars in your hot water bath canner.

Again, notice how translucent it is after it is processed. Jelly is wonderful on breads, rolls, and even on pork chops when you cook them in the oven. This is glorious food that is made from items that are traditionally discarded. It's easy to make, and tastes great! It is a great companion to some freshly baked bread as a gift for someone who is needs some special attention. I found myself standing and admiring my jam and jelly in the jars. I particularly enjoyed how beautiful the jelly looked visually. I found the bottles to be "beautiful" just as my mother did years ago.
This is an easy recipe...give it a try!

Sunday, June 14, 2015

It's a Matter of Raggedy Ann...... and a Sweet Gift for a Precious Little Girl

A Matter of Preparedness

Aren't these so sweet?  These were gifts for a sweet little family member who just turned 1! I have always made Raggedy Ann Dolls for my little family members, and hope that they will be a keepsake from the Rooster Senior and I.

When I give these to sweet little family members, the adults often ask me how I made the hair look so good.  

A Matter of Preparedness

How To Sew Hair on a Raggedy Ann Doll....

See how tight and thick it is?  I have never liked the directions that come with the pattern that basically ask you to tie a knot and leave short pieces of yarn to make the hair.  I feel like a Raggedy Ann with hair like that looks like the doll needs a hair transplant.  Sooooo, would you like to see how it's done?

A Matter of Preparedness

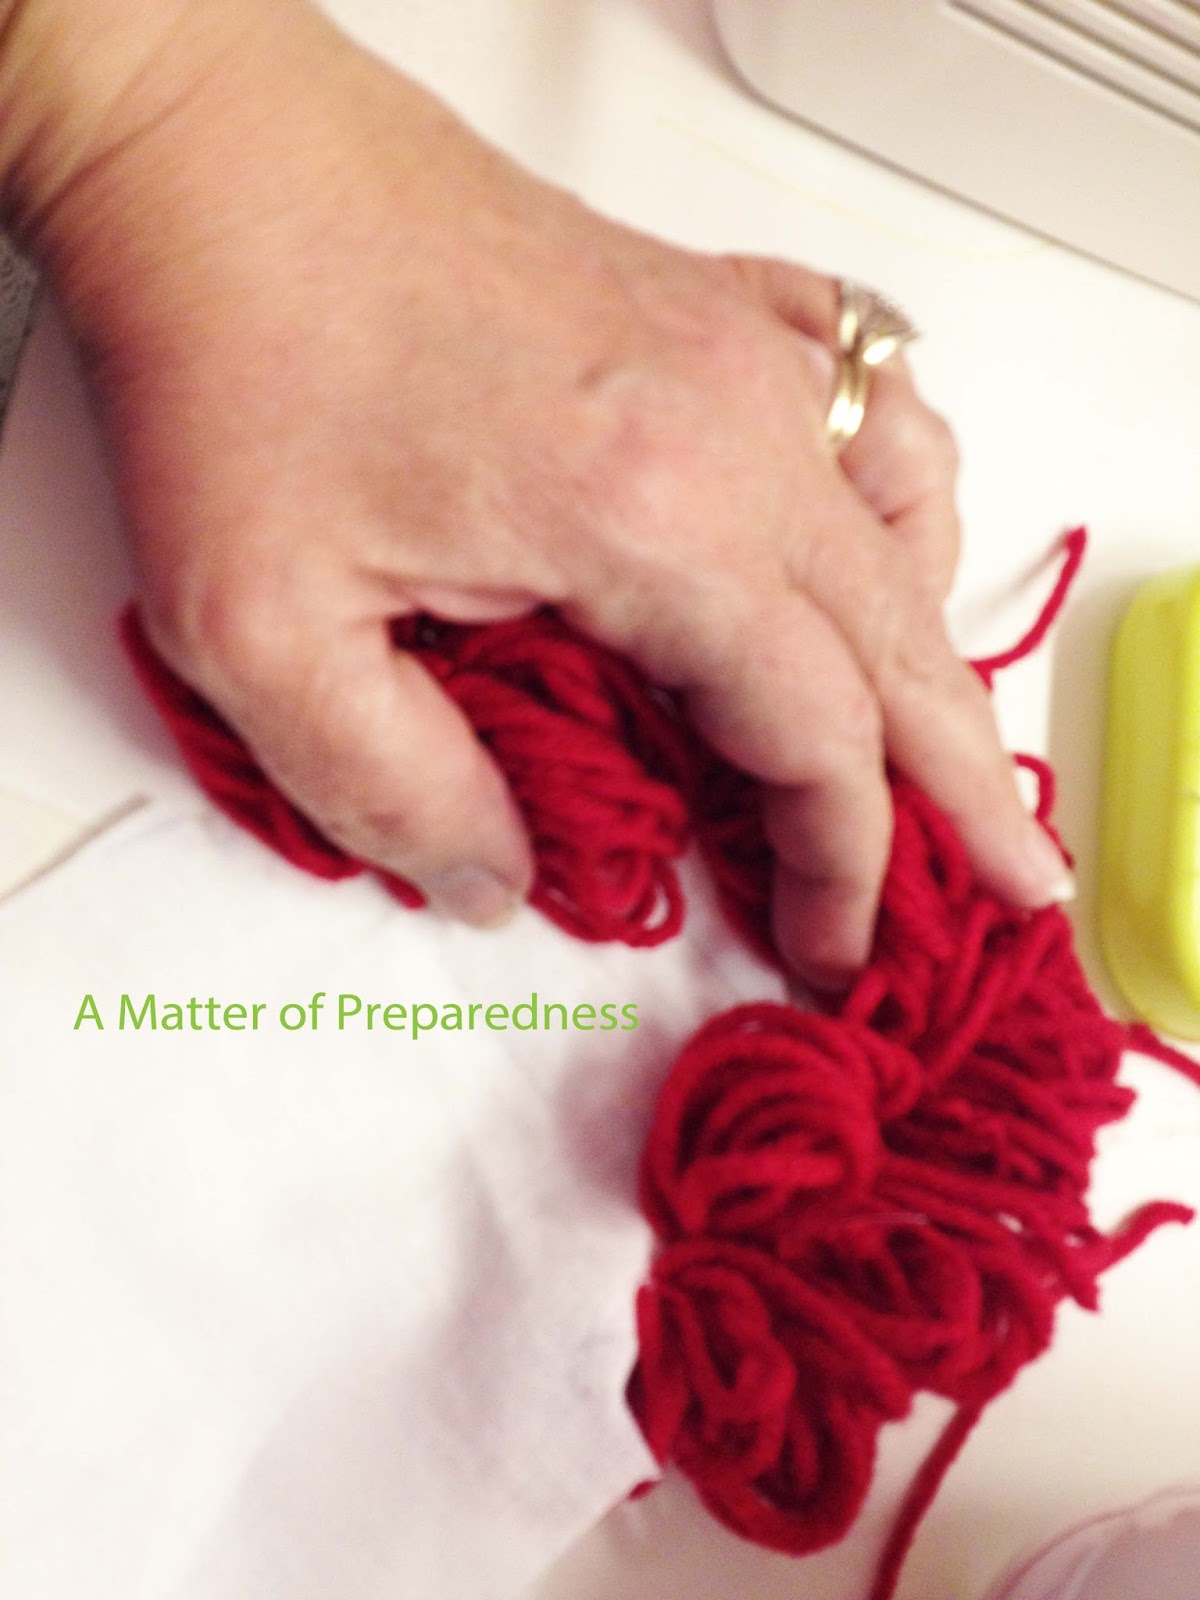
First, I wrap yarn around my hand until I have a 'clump' that looks about like this. Clip the clump of yarn from the skein.

A Matter of Preparedness

The pattern that you can purchase comes with an iron-on transfer to help you see the lines the hair should be sewn upon.  Lay the 'clump across the line and sew a straight stitch through the middle.

A Matter of Preparedness

This is how the hair around the face will look when you have finished sewing around the iron-on transfer line.

A Matter of Preparedness

In order to sew on all the lines on the back of the head, you will need to hold the hard out of the way with your fingers.

A Matter of Preparedness

This is what the back of the head looks like after sewing on all the iron-on transfer lines.  Look how curly and thick it looks.  

A Matter of Preparedness

Now this is where you have to deviate from the pattern's instructions.  Because of the bulk of the yarn, you will need to pin the back and front pieces together and most likely sew them together by hand.  I use a back-stitch and double-knot it on either end to hold the pieces together.

Next, you turn the head inside out.  Here is the most challenging part of the head and hair.  It will be a little difficult to turn it inside out. I have found starting at one side and carefully turning it inside-out is most helpful.  Halfway through the process, the whole thing will pop around and you will be good to go at that point.

A Matter of Preparedness

Now, you can see that I have two different faces on the dolls in this post.  Most of the dolls I have embroidered by hand.  However, I downloaded the pattern for the face for my Embroidery Machine at the suggestion of my good friend.  I still am undecided which I like better.  As of late, I have been embroidering the name of the little recipient on the Apron as well.

A Matter of Preparedness

I chose to make a little sleeveless dress to match.  This can be worn year-round either as-is in the summer or with a long sleeved blouse in the winter.  I also wanted to point out the flower.  I cut the flower just under the umbel and hand-sewed the flower to the rough side of Velcro.  I sewed the companion smooth side of the Velcro on to the ribbon running across the bodice of the dress.  Sewn this way, the flower is removable for washing.

A Matter of Preparedness

Last, but certainly not least, is the headband.  Honestly these are very simple to make but it sure adds another level of cuteness to this outfit.  I used a ladies knee-high and tied the ends together in a knot.  I then hand-sewed the flower on. These are silk flowers so you can push a needle through the silk petals.

A Matter of Preparedness

This is the end result....and aren't these items just so sweet?  It didn't take too long and this little one and her Momma seemed to really like the doll (and the dress).

Take Home Points:

  • Sewing is a useful skill.  To purchase a Raggedy Ann doll costs about $30.00 on-line.  A similar dress on-line also runs about $30.00. The fact that they are matching would increase the price as well.  I hate to admit this but I made all of this for under $18.00.
  • The doll only requires straight stitching. The Apron takes some zig-zag stitching for the gathering. These are very, very basic stitches that even the most inexperienced sewer can do.
  • The enjoyment of this little one can not be measured.  It was also very fun to be so creative. 
  • The pattern for the doll can be purchased on Etsy for $4-10.00.

Try it!


Sunday, November 2, 2014

I Was Canning "CANDY" The Other Day!

Preserving your 'Candy Bounty' from Halloween...

Yes, if you look really hard, you can see a lot of treats in these canning jars. That is by design.  I went to the big box store early in the morning on November 1 and found lots of Halloween candy on sale for 50% off. There was a bit of a mob picking through all the candy. One lady complained about another customer who came in and 'took 200 bags of chocolate candy'.  I thought that he was pretty savvy myself.  Anyway, I digress...I actually bought lots of different kinds of candy during that shopping trip.


I decided to help preserve it....for posterity. I really mean that.  Rooster Senior thinks candy is another food group...I keep waiting for the Doctor to give him 'what for' because of all the candy and soda he consumes. However, they keep telling him he is just as healthy as can be.  

I decided to can different candies in pint jars....so that when we did get into them....there wouldn't be mounds of candy to consume quickly all at once.  I did this because vacuum sealing helps keep chocolate from getting white, and helps keep things like taffy and licorice stay soft.


It is important that all the edges of the packaging do not interfere with the seal.


I turned all the edges under before placing the lid on it.


I sealed the candies in both wide-mouth and regular-mouth jars.


Now, why would I do all this?  Well, for several reasons:
  • It think it is important to have known comfort foods in your storage.  Not only is it fun, but it really can be comforting in times of stress
  • I do this when candies are on sale and save money.
  • I have treats for when little ones come to visit.
  • I hopefully can keep the little ones from raiding Grandpa's stash without permission....because this secret stash really is not so secret!

Try it!


Sunday, September 14, 2014

It's a Matter of an Outdoor Kitchen


The Benefits of setting up an Outdoor Kitchen...

I have a new neighbor.  Actually, she is a friend from long ago who has moved just down the street from me. As I was visiting with her, we discussed her newly acquired apple tree....that was heavy laden.  Some of the branches were touching the ground as they were heavy.  She asked me if I wanted some.....well of course!!!!

I decided to make Apple Juice among other things.  However, I needed many burners and I really didn't want to heat up my kitchen.  So, I set up an outdoor kitchen.  


I have a bar outside.  I set up our Camp Chef Stove.


There are advantages to canning outside. See how easy it is to wash the apples.  No spilling on the floor!

Making Apple Juice

I quickly sliced the apples into wedges.  I did this because this tree was left to its own all summer.  Some of the apples were bound to have 'inhabitants'.  By slicing in wedges, I could move quickly and check for unwanted guests.  That way I could toss the wedges I did not want and keep the rest.

Making Apple Juice and Apple Sauce

Again, using my garden sprayer I filled the bottom container of the Steamer Juicer.  No hauling water...anywhere!  I turned on the burner and brought the water to a boil while I continued to slice the apples. 

Apples for Apple Juice

I filled the middle container of the device with the apple wedges.  I placed the apple-filled container on top of the boiling water and placed the lid on top.  Then I continued to fill the second device as well.  

Setting up a table with supplies

While the apples were processing, I set up a table with the lids (that I had heated in water and set on a hot pad), and a basket of rings.  Do you want to see what is under the towel?

Keeping the sterilized jar safe

I have my clean and sterilized bottles (from the dishwasher) under the cloth.

Juice flowing into bottles.

When the time came, I started to fill the jars with the fabulous golden liquid.

Using the Food Strainer to make Applesauce

So what do you do with the steamed apples after juicing?  I put them through my Strainer.

Mixing applesauce with Jello Powder

Lots of beautiful applesauce was extracted.  And, it wasn't runny!  So I decided to make flavored Fruit leather.  I chose my favorite Jello Flavor and mixed them together.

Making Fruit Leather

I spread the red deliciousness on my fruit leather tray and put the trays in the dehydrator.  

Take Home Message:

  • I was blessed enough to have a lovely gift from my neighbor who was stressing about what to do with all her apples. As she was just moving in, she didn't want to deal with them. She also didn't want any of the juice etc as she said she cannot think of bringing another thing into her new house.  I have been there and done that.  I can relate.  
  • I was able to can inside my house while I had apples processing in my 'outside kitchen'.  
  • Clean up was a breeze.  I just used my garden hose and sprayed down all the surfaces.  It took minutes!
  • I was able to add golden apple juice and fruit leathers to our Pantry.

Consider putting together an outdoor kitchen for canning.  It was really simple and is something I will do again.


Wednesday, December 16, 2009

It's a matter of .......Frugality

(image courtesy of http://blog.kir.com)


Today's economy makes everyone pause...to some degree. Some have to really re-think how they will spend their hard-earned dollars. Others may have family members who are really needing to economize and make life changes. Still others just hate to waste money! (That's my category...I kid my parents that I was born with a Cheap gene....that I inherited from them!)


Here are some links to help with the "economizing" that offer some very, very good information. Check them out today!

http://tipnut.com/

http://www.5dollardinners.com/

http://www.budget101.com/

http://www.hillbillyhousewife.com/

http://www.thefrugalfarm.com/

http://suzannemcminn.com/

It's a mindset folks......make it yours!
01 09 10