Aren't these so sweet? These were gifts for a sweet little family member who just turned 1! I have always made Raggedy Ann Dolls for my little family members, and hope that they will be a keepsake from the Rooster Senior and I.
When I give these to sweet little family members, the adults often ask me how I made the hair look so good.
How To Sew Hair on a Raggedy Ann Doll....
See how tight and thick it is? I have never liked the directions that come with the pattern that basically ask you to tie a knot and leave short pieces of yarn to make the hair. I feel like a Raggedy Ann with hair like that looks like the doll needs a hair transplant. Sooooo, would you like to see how it's done?
First, I wrap yarn around my hand until I have a 'clump' that looks about like this. Clip the clump of yarn from the skein.
The pattern that you can purchase comes with an iron-on transfer to help you see the lines the hair should be sewn upon. Lay the 'clump across the line and sew a straight stitch through the middle.
This is how the hair around the face will look when you have finished sewing around the iron-on transfer line.
In order to sew on all the lines on the back of the head, you will need to hold the hard out of the way with your fingers.
This is what the back of the head looks like after sewing on all the iron-on transfer lines. Look how curly and thick it looks.
Now this is where you have to deviate from the pattern's instructions. Because of the bulk of the yarn, you will need to pin the back and front pieces together and most likely sew them together by hand. I use a back-stitch and double-knot it on either end to hold the pieces together.
Next, you turn the head inside out. Here is the most challenging part of the head and hair. It will be a little difficult to turn it inside out. I have found starting at one side and carefully turning it inside-out is most helpful. Halfway through the process, the whole thing will pop around and you will be good to go at that point.
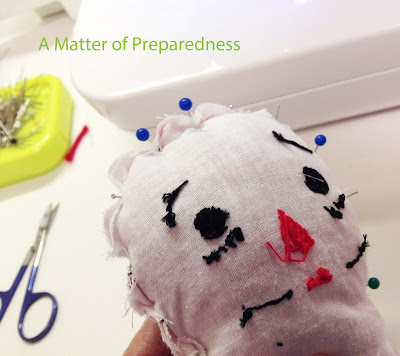
Now, you can see that I have two different faces on the dolls in this post. Most of the dolls I have embroidered by hand. However, I downloaded the pattern for the face for my Embroidery Machine at the suggestion of my good friend. I still am undecided which I like better. As of late, I have been embroidering the name of the little recipient on the Apron as well.
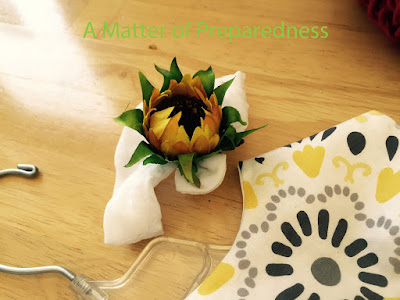
I chose to make a little sleeveless dress to match. This can be worn year-round either as-is in the summer or with a long sleeved blouse in the winter. I also wanted to point out the flower. I cut the flower just under the umbel and hand-sewed the flower to the rough side of Velcro. I sewed the companion smooth side of the Velcro on to the ribbon running across the bodice of the dress. Sewn this way, the flower is removable for washing.
Last, but certainly not least, is the headband. Honestly these are very simple to make but it sure adds another level of cuteness to this outfit. I used a ladies knee-high and tied the ends together in a knot. I then hand-sewed the flower on. These are silk flowers so you can push a needle through the silk petals.
This is the end result....and aren't these items just so sweet? It didn't take too long and this little one and her Momma seemed to really like the doll (and the dress).
Take Home Points:
- Sewing is a useful skill. To purchase a Raggedy Ann doll costs about $30.00 on-line. A similar dress on-line also runs about $30.00. The fact that they are matching would increase the price as well. I hate to admit this but I made all of this for under $18.00.
- The doll only requires straight stitching. The Apron takes some zig-zag stitching for the gathering. These are very, very basic stitches that even the most inexperienced sewer can do.
- The enjoyment of this little one can not be measured. It was also very fun to be so creative.
- The pattern for the doll can be purchased on Etsy for $4-10.00.


