If you have been following this blog for the past few weeks, you will know that we are in the process of "Reclaiming our Domain". We have adult children coming and going.....and it's a fun time of life. However, I need to put things in order for my husband and myself....and we are.
I have donated a double bed to a couple that was in need of one.....which left an entire room for me to take over. I am turning it into a sewing room. I will show it all to you as soon as I put the finishing touches on it. Just know that I love it already.
Making Sensible Yarn Storage from a Moving Box:
When trying to decide how to organize my yarn, I looked at several options. I have seen fun wine racks used and liked that look. However, I didn't like the price! I have stored my yarn in clear tubs, but for me there was always frustration because the different yarns eventually would get tangled...I really hate that!
So, here is my little brain storm. Let me show you how I did this for very little money.
I found Moving Boxes online at Home Depot. The box was under $2.00 and the dividers were under $7.00. This is a Medium size box and the dividers are for 2 levels of glass storage if you were going to actually use this as a moving box. I asked Rooster Senior to cut off the flaps of the box on one end.
I then asked him to open up the seam with his Exacto Knife....he was very willing to help! I opened the box because I want to spray-paint the decorated side of the box.
I laid the box and the dividers on my lawn (yes, I know it is February, but it is unusually warm this year). I used a can of black spray paint that Rooster Senior had in the Garage.
I used my hot glue gun and glued the box back together...with the black being on the inside.
This is what the seam looked like after it was glued together. It's not lovely, but it is very functional.
I then put the bottom of the box together and glued it with hot glue. Note how the black will show on the inside of the box.
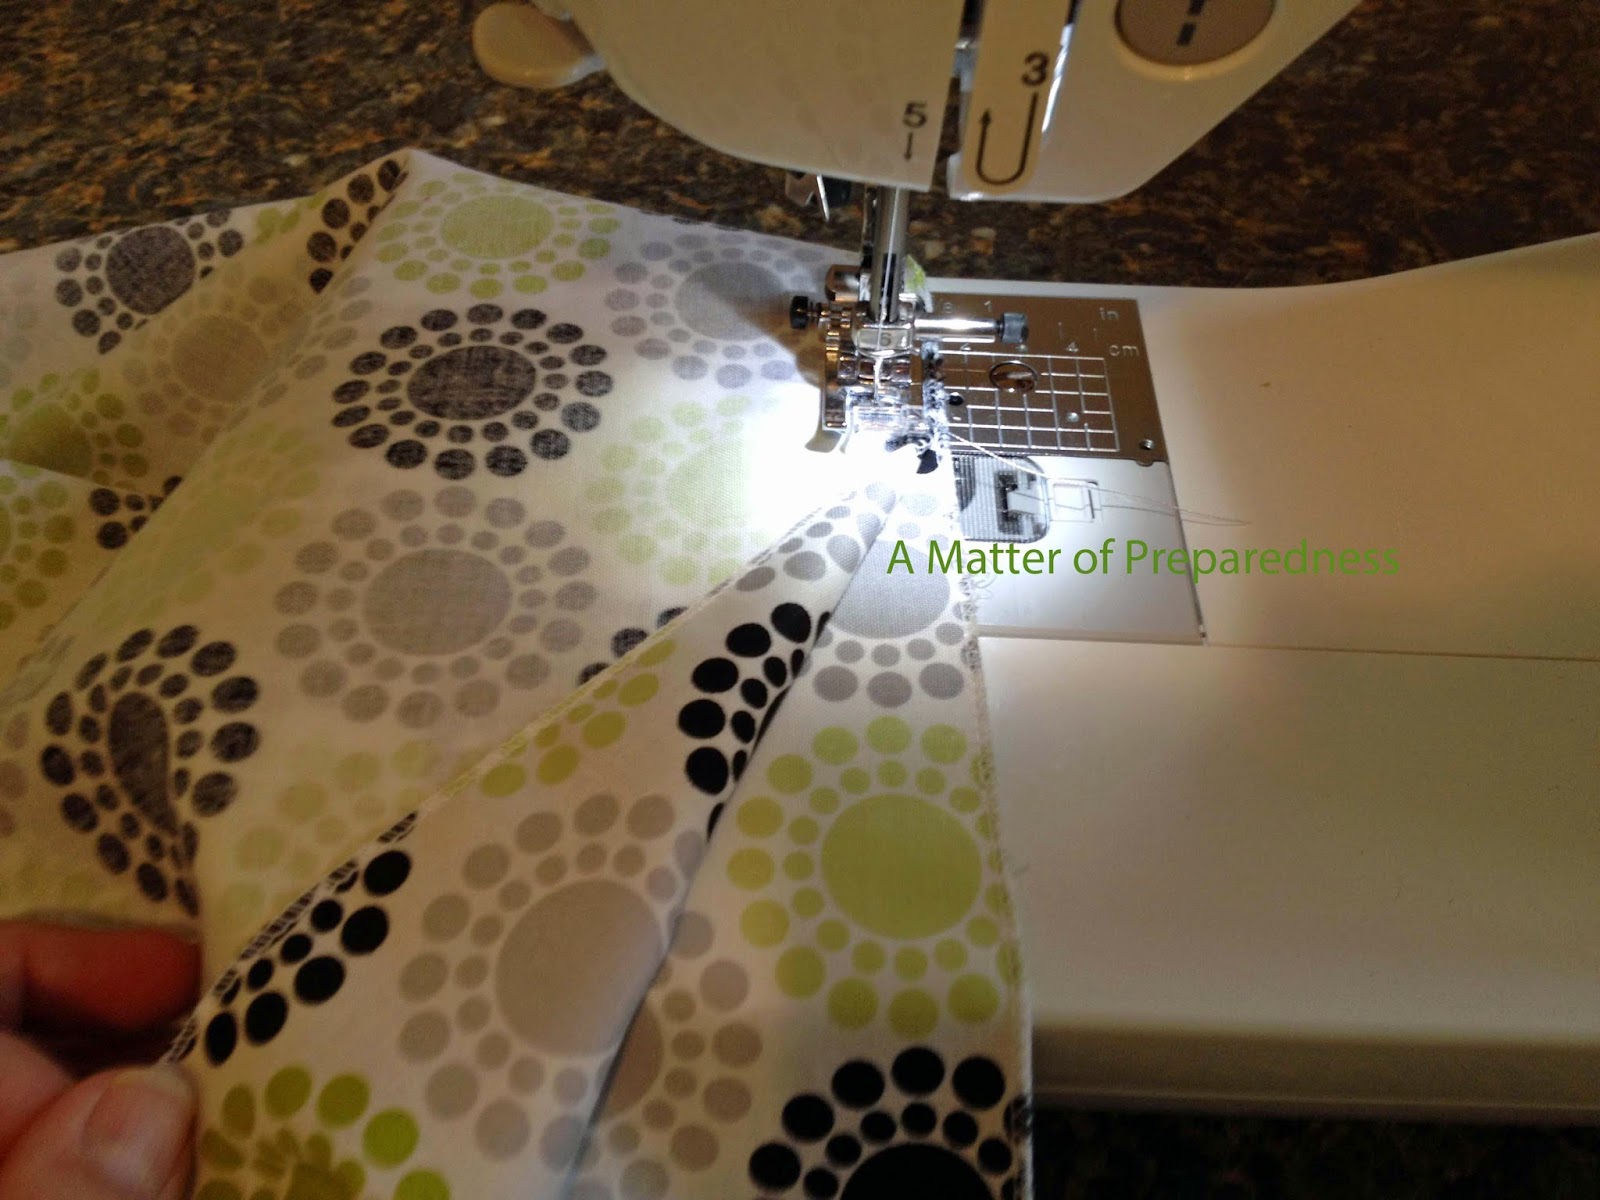
I had measured the length of the open box before I glued it together. I also measured the 'height' of the box from the cut edge to about 8" down on to the bottom flaps. I cut a piece of fabric according to those dimensions and surged the cut edges. I then brought the two short sides of the fabric together and sewed one seam.
I slid the fabric sleeve over the exterior of the box. Now, here is why I put the box together in an "inside-out" fashion. There is now no decoration to show through my fabric. It is a blank slate. This is a tight fit, which I was glad about.
This is the bottom of the box. I wrapped and hot-glued the fabric to the bottom.
I then finished the bottom of the box with a piece of $.99 black poster board. I measure, cut, and glued it on. I like how it looks and it slides easily on surfaces with the smooth finish of the poster board.
I like the fact that the color of the yarn plays well off the black surfaces. A skein fits just fine in a slot. I even put some of my crochet skeins of 'thread' that I used to edge baby blankets.
I can even fit balls of yarn down into a compartment. Notice that I wrapped the upper edge of the box with about 4 inches and glued it to the box before inserting the dividers.
I attached a rope handle by punching 2 holes/side with sharp scissors. I had cording from a former upholstery project. So, I threaded the cording through and tied double knots on the inside of the box. I now have 2 handles to carry the box. I am not worried about reinforcing the holes, the yarn is very light weight. This box is prepared solely to be used for my yarn storage.
So, What is the Take-Home Message?
- I spent under $10.00 for this entire project as I already had the fabric, the cording, and the spray paint. I am trying very hard (as we reorganize) to use items that we already have. I just like to be wise with the things we have been blessed with. I am guessing that you may find items around your house that you can re-purpose into something usable like we have.
- This project took about 1 hour total (not including drying times) to complete.
- I can easily find the yarn I am looking for without undoing a tangled mess!
- This container is out-of-the-way, but is easily retrieved when it is needed as it is so lightweight. It can be stored up high.
- I have a friend with an entire room of yarn. I think the slogan "She who dies with the most yarn...wins" applies to her. I am not there yet, but I admire folks who are so wildly talented that they can create clothing and bedding, etc from a hook (or a couple of needles). I am still at the dishcloth, afghan stage...and am quite happy to be there.


2 comments:
Great Idea. Wish I had room for something like that in Springbrook. Have plenty of room in Havasu, but less yarn.
Looks great, you did an excellent job!
Post a Comment